|
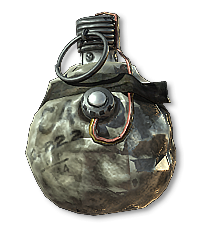
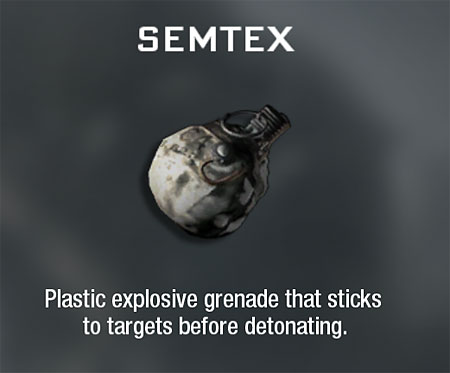
Semtex: Covered
in a powerful adhesive material, the Semtex grenade sticks to the
target surface and detonates shortly afterward. This is ideal for
precision targeting, especially useful when attacking or defending
specific objective points. As an added bonus, the Semtex cannot be
picked up and tossed back.
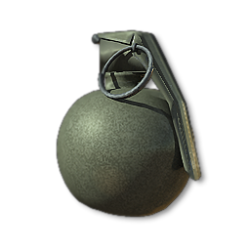
Frag Grenade:
The anti-personnel Frag grenade deals explosive radial damage, perfect
for room clearing and killing enemies behind cover. Its fuse timer
lasts several seconds before detonation, so be sure to cook the grenade
for a moment if there’s any threat of your target tossing it back in
your direction.
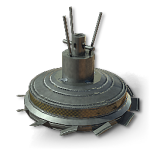
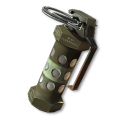
Bouncing Better:
The Bouncing Betty is both quick to deploy and useful in a variety of
situations. Acting as a proximity mine, it shoots into the air and
explodes when enemy movement crosses its vicinity. Either plant it out
of sight around a corner or within tight pathways to catch assailants
off guard. Throw it down when being pursued and get out in time to
clear your trail.
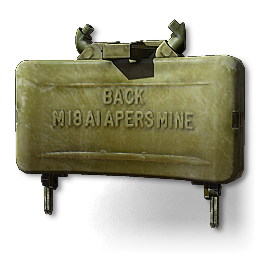 Claymore:
The tried and true anti-personnel Claymore detonates when enemy
movement trips the forward facing motion laser. Most useful when placed
out of sight near popular routes, or deployed to cover unguarded
entryways when setting up a defensive position.
Concusstion Grenade: Stun
your target and land a kill while they struggle to move and defend. The
Concussion Grenade works well in open ground, as you don’t have to
worry about disabling yourself as much as with the Flashbang. Throw
time is fairly quick, letting you toss and then shoot with minimal
downtime. The blast radius isn’t as large as the Flashbang’s, but it
does also temporarily disable nearby enemy equipment.
EMP Grenade:
Destroy enemy equipment and shut down their HUD in a medium blast
radius. While the Flash and Concussion grenades only temporarily shut
down equipment, the EMP destroys it outright. Best used in conjunction
with Sitrep for precision use.
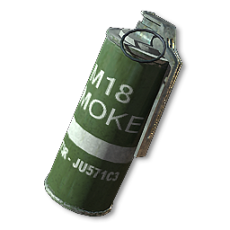
Smoke Grenade:
Conceal your movements with a billow of smoke. The Smoke Grenade is
most helpful when traversing open ground, preventing enemies from
spotting your movements and taking you down. If you notice the enemy
team doing the same, select a loadout with the Thermal attachment for
clear visuals through the smoke. 
Flash Grenade:
Blind and disorient your target and then rush in for the kill. The
Flash Grenade’s blast radius is larger than the Concussion’s, but
there’s also a much greater chance of blinding yourself in the process.
Best used to affect targets in interior spaces. Enemy equipment is
temporarily disabled on impact, allowing you to go in for the kill
without the worry of sentries or explosives taking you out. 
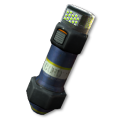
Tactical Insertion:
Use the Tactical Insertion to control your spawn points. Drop the
equipment near objectives or prime locations to save on travel time and
start your next spawn in a position of advantage. Avoid dropping it in
easy to spot locations, as enemies will notice the red glare, giving
them the chance to either destroy it or set explosives nearby for a
free kill on your next spawn. 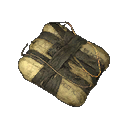
C4:
C4 leads the class with precision explosives. The device can either be
thrown on the ground or tossed onto a wall or ceiling surface for
improved concealment. When the enemy approaches, pull the trigger to
blast them away. 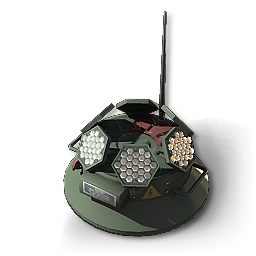
Portable Radar:
The Portable Radar registers nearby enemy movement in a small radius
and signals their position on your radar. When defending a location, or
creeping into enemy territory, the notice of incoming enemies gives you
the advantage of repositioning and landing the kill before they have
time to react. Note that players using Assassin will not appear on your
radar while inside the radius. 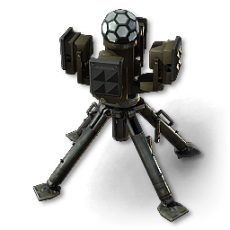
Trophy System:
When the enemy team starts playing dirty with Launchers and grenades,
deploy the Trophy System to negate their explosive damage. This helpful
piece of equipment seeks out and destroys two incoming projectiles,
including both lethal and tactical grenades. Highly recommended when
capturing or defending objective points.
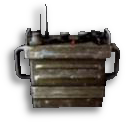
Scrambler: Disrupt nearby enemy radar, making it more difficult to pinpoint your
position. The Scrambler can be picked up and redeployed, allowing you to
move it to the most advantageous position. Players often assume that a
jammed radar means there’s an enemy nearby, so trick them up by placing
it in the distance with a clear view on the confused target.
About Equipment: The way equipment works in Modern warfare 3 is you can have each only 1 Lethal and 1 non-lethal type per class. Lethal
equipment is considered items that can damage the opponent ex.grenades.
Non-lethal equipment are support equipment such as Portable Radar.
|